E-Bike Tire Pressure: Pump & Maintenance Buying Guide
Choose e-bike tire pressure from the instructions and markings for the actual tire-and-wheel setup, then check it with a compatible pressure gauge. Motor wattage and wheel diameter alone do not provide a reliable PSI setting. Before buying, make sure you can identify the limits, use the valve and arrange tire service for the model you choose.
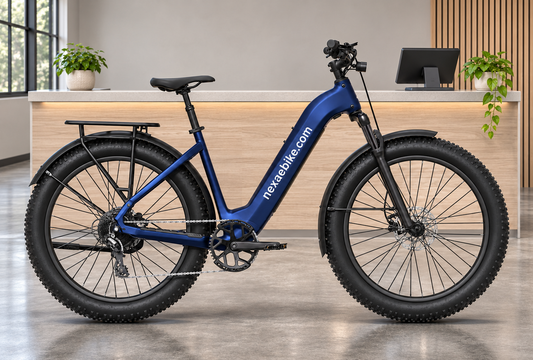
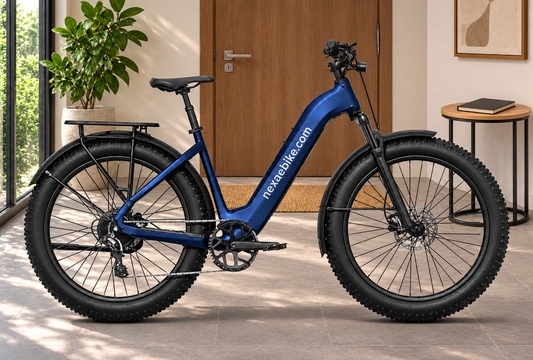
This guide uses the NexaEbike lightweight step-through cruiser, referenced as Velotric Breeze 1, to turn tire maintenance into a practical ownership checklist. It does not prescribe one pressure for every rider.

Start with the supplied bike and tire
The 750W, 627Wh step-through cruiser lists a rigid aluminum fork, Shimano eight-speed gearing, hydraulic disc brakes and torque/cadence sensing. The manufacturer's Breeze 1 specifications identify Kenda 27.5 × 2.2-inch puncture-resistant tires. Rear rack and fenders are optional, including those shown in the illustrations here.
Those specifications help identify the model. For inflation, read the markings on the tires actually supplied and the applicable wheel and bicycle instructions. If the bike has replacement tires, do not keep using a setting solely because it appeared in an older product description.
Why this guide does not give a universal PSI chart
Schwalbe's inflation-pressure guidance explains that tire loading and the rider's needs affect the appropriate pressure. It also recommends a gauge because squeezing a tire by hand is an inaccurate measurement.
Check both sides of the compatibility question. The tire has operating limits, and the rim manufacturer may specify its own pressure and tire-type restrictions. Schwalbe's tire-and-rim guidance explicitly calls attention to those rim requirements. If the documents or markings conflict, have the supplier or a qualified mechanic resolve the discrepancy before inflating or riding.
| Information | Useful for | Still needs checking |
|---|---|---|
| 27.5 × 2.2-inch tire listing | Identifying the advertised tire format | Actual tire model, markings and applicable pressure limits |
| 750W motor label | Identifying a drive specification | It does not assign tire PSI |
| Puncture-resistant description | Identifying a stated tire feature | Maintenance requirements and what to do after a puncture |
| A maximum-pressure marking | Identifying an upper limit for that component | Whether it is the appropriate operating pressure for your complete setup |
A friend's setting is not a substitute for those checks, even if both bikes are electric. Likewise, a higher number is not automatically a better choice for comfort or every riding surface.

Check the pump and gauge before the first ride
The Breeze 1 owner's manual, printed page 21, calls for an AV-compatible inflation pump, directs owners to the tire's pressure markings and says to check tire pressure before every ride. Have the seller show you the valve on the supplied wheel and how your pump head connects.
Choose a gauge whose units and measurement range are suitable for the confirmed operating pressure. Make sure you can read it easily and reach the valve without forcing the pump head against the spokes or other components. This guide does not endorse a particular pump model.
Use the gauge to record the pressure, alongside the checks required by the bike's manual. A tire that looks normal is not a measured pressure reading. If a tire repeatedly loses air, arrange inspection rather than simply treating every top-up as routine.
Build a tire record at handover
Ask the supplier to help complete this record for the actual bike. A clear photograph of the original tire markings belongs with it; the AI illustrations in this article are not a source for technical sidewall data.
| Record this | Why it helps |
|---|---|
| Bike model and tire make/model | Identifies the equipment when requesting help |
| Complete front and rear sidewall markings | Preserves size and pressure information without relying on memory |
| Applicable rim limits and instructions | Checks the complete wheel setup |
| Valve type and compatible pump head | Helps you select usable inflation equipment |
| Supplier-confirmed setup for your rider and luggage load | Gives context to the chosen front and rear pressures |
| Local service contact and approved replacement details | Reduces uncertainty when a tire needs attention |
Update the record after a tire or wheel change. For replacement sizing, our wheel-format and fit guide explains why broad inch labels alone do not establish compatibility.

Plan for your actual riding routine
For a daily commute: keep the correct pump and gauge accessible, and identify a service option before a flat interrupts your journey. Ask the workshop whether it services the specific rear-hub e-bike you are buying and what information it needs.
For occasional rides: include tire checks when taking the bike out of storage. A low odometer reading does not tell you today's pressure or tire condition.
When adding luggage: discuss the changed load with the supplier and remain within all component and bicycle limits. Do not copy a pressure from an unloaded demonstration ride without checking that it suits your setup.
Puncture-resistant still needs a service plan
The manufacturer's description is not a guarantee that the tire can never go flat. Confirm which replacement tire and, where applicable, tube are approved, whether they are locally available and who can install them.
Do not assume that a tire can be converted to tubeless, or that a particular sealant is approved, from its size or puncture-resistant label. Those are separate compatibility questions. Damaged tires and unexplained air loss need attention before the next ride; a pressure adjustment does not repair physical damage.
Frequently asked questions
What PSI should I use for a 750W e-bike?
The wattage does not determine it. Confirm the actual tire and wheel requirements, your load and the bicycle manufacturer's guidance.
Should I inflate to the maximum written on the tire?
A maximum is a limit, not automatically your target. Check the complete setup and obtain a suitable operating recommendation within its applicable limits.
Is squeezing the tire enough?
Use a compatible gauge to measure pressure. Hand feel does not provide a reliable numerical reading.
Are the Breeze 1 rack and fenders included?
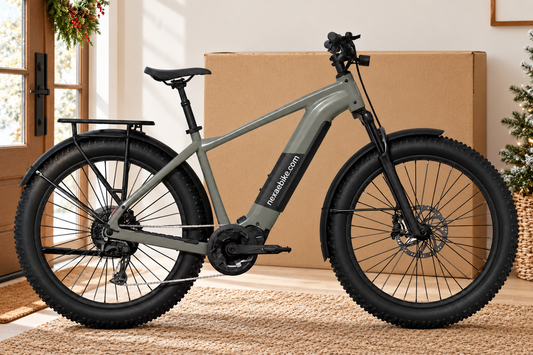
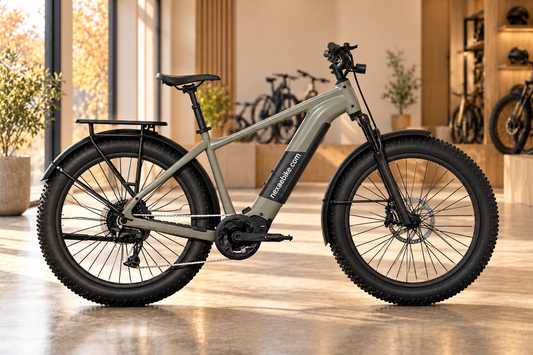
The current listing identifies them as optional. The images show those accessories because they appear in the source product photographs; confirm your selected package.
View the lightweight step-through cruiser or compare the cruiser collection with your maintenance checklist.
Editorial note: References checked October 29, 2026. No independent tire, puncture or range testing is claimed. Images are AI scenes based on listed product photos, with branding edited to nexaebike.com; they do not document tire markings or a maintenance procedure. Refer to the product page for actual supplied branding and equipment.
Tags:
Previous
NFC E-Bike Key Cards: Access & Setup Buying Guide
Next
AutoShift vs Auto Mode: E-Bike Controls Buying Guide
Related articles

E-Bike Maintenance Records: Build a Service Log
Nov 03 2026

E-Bike Price Tracking: Compare the Same Variant
Nov 02 2026